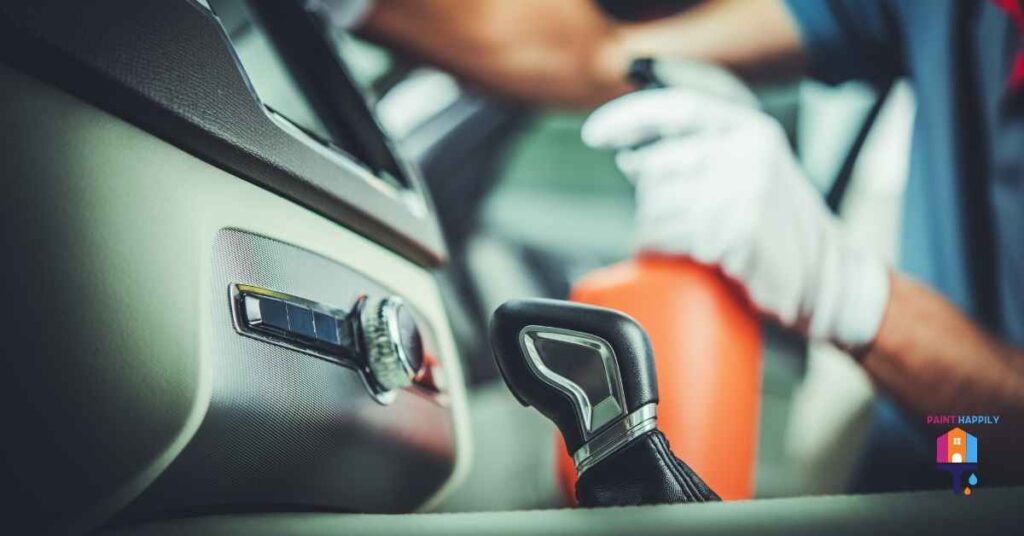
I’ve observed that there are a lot of postings online about how to paint car interior plastic. However, some people are reluctant to paint interior furniture because it may fade, crack, peel, etc.
To alleviate that anxiety, I’m here.
I’ll describe in detail how to paint car interior plastic items PERFECTLY without running the danger of flaking, chipping, fading, etc.
(Can also apply to exterior components, such as moldings, lips, etc.)
Before we begin, the procedures must be followed precisely!! I’ve seen a lot of paintings that looked like an ass because people paint in a hurry. They simply want it painted so they can put it back on. This is unacceptable; timing is essential if you want faultless work.
Also, attempt to paint (and maintain the paint cans) at ideal temperatures, i.e., room temperature or higher.
Table of Contents
Materials needed to paint car interior plastic:
- Wet 800 grit and 1500 grit sandpaper
- plastic precleaning
- Tape
- Paint (Plastic Paint if it’s plastic). If vinyl, be sure the paint is vinyl, primarily because vinyl’s flexibility makes sure that the paint’s components adhere more effectively.)
- Any indoor or outdoor plastic primer will function as a primer.
- Adhesion Enhancer (comes in an aerosol)
- Claret Coat
Instructions on how to paint car interior plastic:
Step 1: Remove any elements that need to be painted (obviously, it merely makes cleaning and painting faster); if possible, have the item perch on something, so it is above ground. If it’s suspended, you’ll be able to achieve a lovely, even spray from top to bottom.
Step 2: Give the items a thorough wash in soapy water. Use a degreaser if it is filthy, oily, or greasy (brake cleaner will work). Finally, wipe them down with the plastic pre-cleaner after thoroughly drying everything (or rubbing alcohol) and finish drying with a fresh cloth.
Step 3: Important: If the material is plastic, lightly smooth the components using damp 800 grit sandpaper. Make sure the item and the sandpaper are both always moist. Allow the moist sandpaper to work; don’t use pressure or force. Use different circular movements to cover the entire piece’s surface. KEEP THEM DAMP! NO PRESSURE, ALSO! Having nice moist sand requires this.
Additionally, avoid letting plastic buildup on the sandpaper since it will and can damage the surface. To avoid using too much hand pressure while sanding over curved regions, it’s a good idea to wrap the wet sandpaper around some foam or sponge. However, using your bare hand is OK if you’re like me and like to “feel” your work. Just remember to KEEP IT WET, CLEAN, AND WITHOUT PRESSURE!
When done, rinse the item and completely dry it.
*Note* Use 1500 grit for vinyl and the same procedure. You’ll see vinyl on the door, armrest, and dashboard.
Step 4: Before applying the adhesion promoter, shake the can! You would best go ahead and shake for a minute if the label advises to! To produce a good, uniform coat ready to be primed, you want the adhesive chemical solvents in the container to be well-blended. Apply it similarly to painting: with a thin, even layer from side to side. One coat of the adhesion promoter is adequate. Be careful because the surface may get gummy if you apply too many coats. Let it air dry
*Note* It’s a good idea to follow the “drying” instructions on the can before moving on to the next stage, depending on the adhesion promoter you purchase. According to some cans, it will dry in 30 minutes, but it can take 90. Observe the can!
Step 5: *Important* Shake that sucker up before applying the primer! Same idea here for uniform quality; you want the paint pigments to be well-blended. Shake both before and while. Spray a single, beautiful, VERY LIGHT coat—I mean VERY LIGHT! Don’t lose it! After waiting approximately an hour, apply a second, lovely, light layer. Here, two coats should be plenty. Spray a third, LIGHT coat after waiting about an hour if you still feel like you need more coverage (you shouldn’t, but whatever).
A MINIMUM OF 24 HOURS SHOULD PASS AFTER YOUR LAST COAT OF PRIMER BEFORE PAINT!
I’m being unreasonable about wearing light jackets and waiting a day. Of course! The paint will attach to the primer more effectively the better the primer clings to the surface.
*Note* Turning the can upside down and spraying until clear gas comes out is an excellent idea between applications. WHY? The can claims that this is done to prevent nozzle clogging, but the more important idea here is that if you go to spray coat #2, dried paint may be blocking the nozzle passage. So causing the paint to “splurt and splutter,” damaging the wonderful, even, smooth finish you got from coat #1.
Step 6: Yes, you did wait for 24 hours. Painting time! But what’s this? SHAKE THAT BLOODY CAN! While painting, shake it! Same idea: a smooth, light motion from side to side. Three coats will be added at this point, and the paint will either “flake” or “make it.” I advise waiting at least an hour after your first coat; longer is preferable. It’s essential to give the base coat enough time to dry.
Additionally, the way you apply the paint ultimately determines the outcome. So once more, three coats, let a long time between applications, and keep them LIGHT! AND…turn the can over and spray in between applications!
BEFORE APPLYING A CLEAR COAT, WAIT 24-48 HOURS.
Step 7: It’s precise coat time. Are you shaking the can? 2-3 coats of clear should be enough. The same idea as before…nice, uniform, and LIGHT jackets! You don’t have to wait as long with the clear; maybe a half hour is a plenty as long as the jackets are LIGHT. Allow another 24 hours for everything to cure before handling and reinstalling the automobile.
Conclusions on how to paint car interior plastic:
I wouldn’t use cleansers on freshly painted surfaces for at least a week or two. I wouldn’t use cleaners on them at all! This is because most dash cleaners contain:
- Alcohol-based solvents like n-propoxy propanol.
- Propylene glycol ether (for glass).
- Isopropanol.
- Most will include two of three alcohol-based solvents, which, when used occasionally, will damage the clear coat, eventually leading to paint fading.
- Unless a tough stain is removed, plain soap and water will suffice. If you must use cleaning, ALWAYS follow up with a protectant.
- You must use a protectant because most of them have UV inhibitors to stop fading.
- Lanolin and natural moisturizers are good ingredients to search for in sunscreens; if not, water-based silicone is also acceptable.
- Just remember that the items you picked to paint are that—PAINTED! Unlike the factory-made, colored pieces, these items need special attention (and even those can fade)
- Therefore, always maintain proper “car keeping.” I hope this essay is helpful to anyone who is transforming their interiors!

4 Responses
I agree with your point of view, your article has given me a lot of help and benefited me a lot. Thanks. Hope you continue to write such excellent articles.
thank you
Your point of view caught my eye and was very interesting. Thanks. I have a question for you. https://accounts.binance.com/pl/register?ref=PORL8W0Z
go ahead sir…